.png)
How to edit photos using Luminosity Masking
- grey1217

- Apr 1, 2020
- 1 min read
Updated: Sep 16, 2021
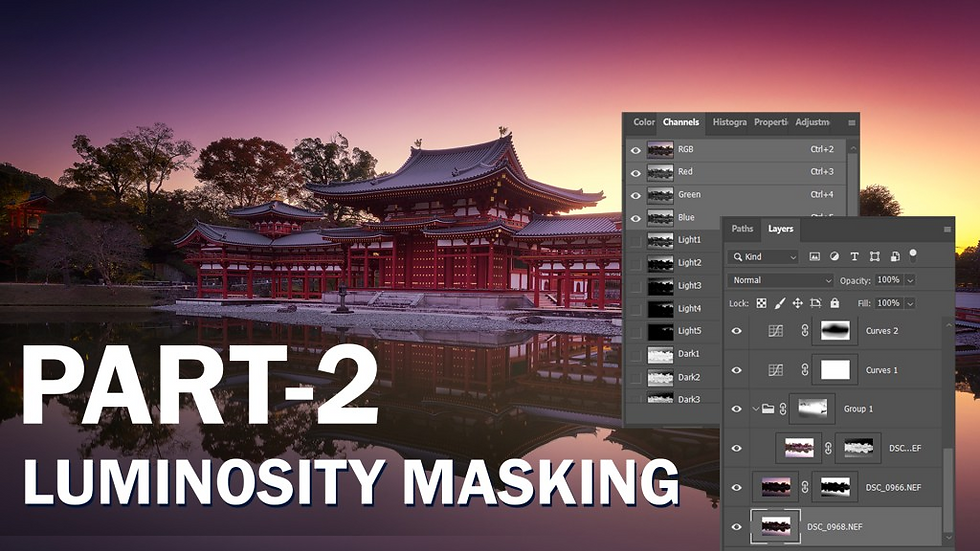
This is the part 2 about how to use Luminosity Masking to edit your photo.
This time, I’m going to do exposure recovery using three photos with different exposures. (On the previous video, I was using only two)
Also, I will share with you on a better way in finetuning the Luminosity Masks and other methods in using the Luminosity masking to make your photo more Pop.
To understand the basics of the Luminosity Masking, you can check out my previous video here: Visit the page
GreyChow LM Action Pack
To install the action pack, please perform the following actions
Unzip the downloaded GreyChow LM Action Pack.zip file.
Double click on GreyChow LM Action Pack.atn file, this will automatically open up Photoshop and install the Action Pack.
To view the Action Pack. In Photoshop, go to Window > Actions.

Join our Photography Masterclass Community & improve your photography skill.
Subscribe to receive photography tips & tricks and update from Grey Chow
Please feel free to share this post if you enjoy reading it! :)
#overexposed #workflow #luminositymasks #landscapephotography #photoshopcc #luminositymask #advanced #sunsetphotography #grey #exposureblending #photography #photoshoptutorials #photoshoptutorial #exposure #tutorial #masking #layer #betterphotos #recovery #postprocessing #photoediting #sunrise #luminosity #chow #luminositymasksinphotoshop #technique #photoshopactions #editing #photoshoplayers #greychow #photoshop #photoeditor #action #howtoretouch


Comments