.png)
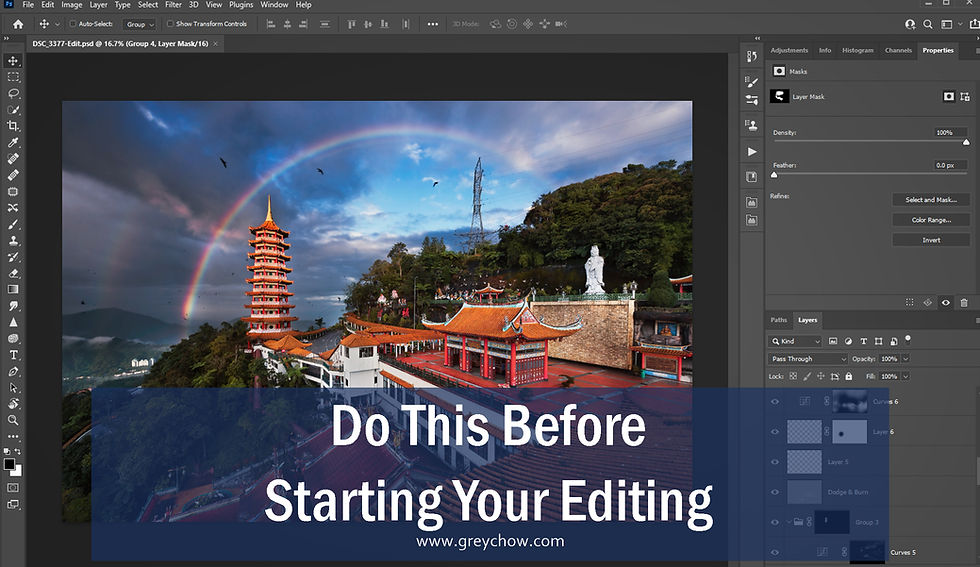
Do this before starting your editing
- grey1217

- Jan 13, 2022
- 3 min read
Being a good photographer, not only do you need to understand your gears and master the technique in capturing photos, but you also need to know how to edit your photos to create a beautiful piece of work. (or at least, try not to ruin your photos with overcooked editing.)
Here, I want to share with you an important practice that I usually do before applying any adjustment to your photo. With that, you will have a better idea of how to create a stunning edited result while keeping the photos look natural.
Before I start editing a photo, I would usually analyse the photo first. The purpose of the analysing is to identify the "problems" the photo has and decide what kind of editing should I make.
The process also gives me a better idea to visualise the outcome I want to achieve from post-processing.

Many people think that creating a good photo involves complicated editing techniques such as luminosity masking or channels to create a selection, but that's wrong.
All those advanced editing techniques are mere "tools", they make it easier for you to perform certain adjustments to your photos, but they don't guarantee the result will be good.
What's important is to be clear of what you want to achieve through editing. With that, you are able to decide what kind of adjustments work the best to produce the desired outcome, regardless of whether it is a simple adjustment as increasing the contrast or involves multiple adjustments steps.
Because of that, it is important to analyse your photo before starting any editing.
Without wasting anymore, let's use the below photo as an example.
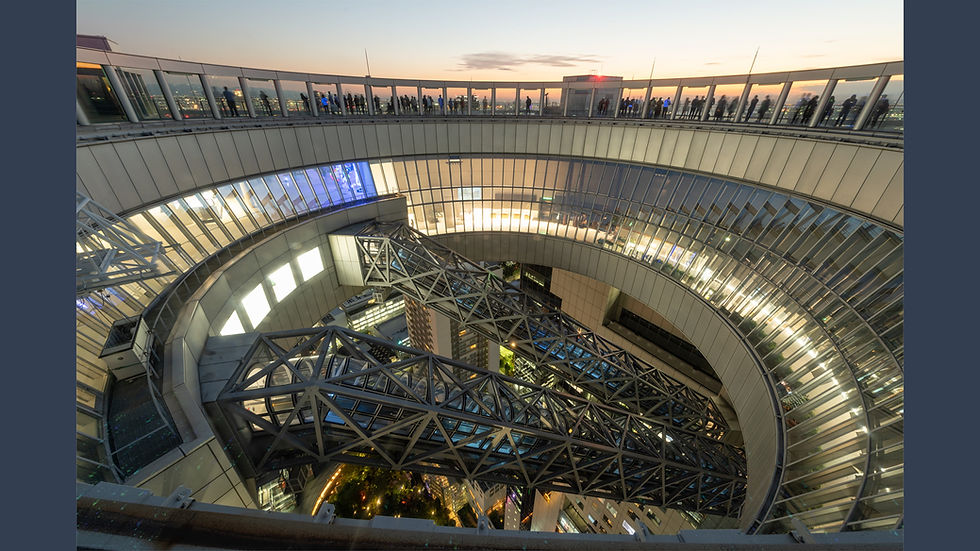
Without wasting any more time, let's use the below photo as an example.
This is a RAW photo of the Umeda Sky Building in Osaka, Japan.
I usually start with asking myself a series of questions when analysing the photo, for example:
What is my main subject here? How can I make it stand out from the frame?
What are the problems that the photo has? How can I fix that?
What else do I like about the photo? How can I emphasise those areas via post-processing?
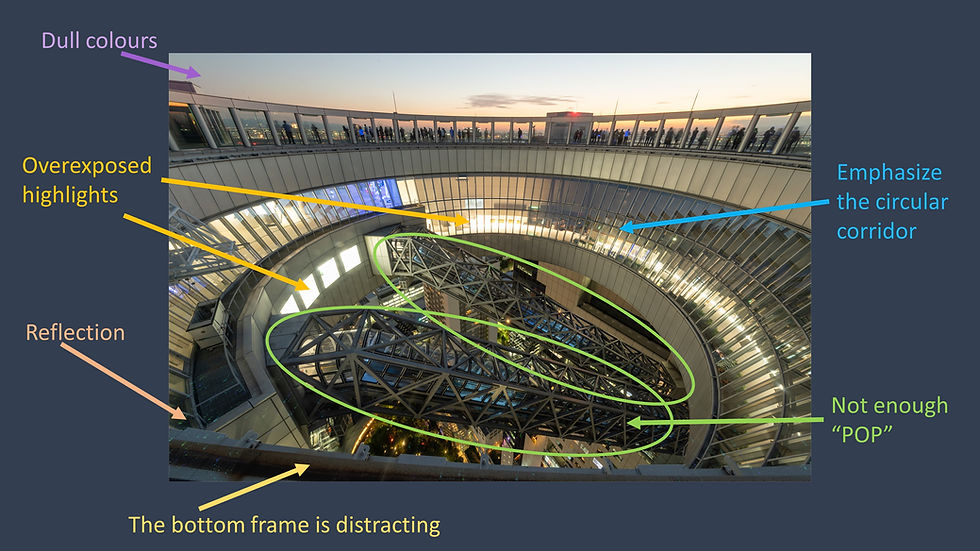
So, I listed out what I had found about the photo. Then I will start performing a series of actions to edit the photo.
I cropped the bottom of the photo to have a cleaner composition.
I removed the reflection at the bottom by blending in another photo that I captured earlier when the lights were off and had no reflection.
I darkened the sky and boosted the colour of the entire photo.
I recovered the overexposed highlights.
I brightened the escalators and the circular corridor and darkened the surroundings to make them more POP.
I added a vignette to the photo so that people would focus more on the centre of the frame.
Some of the above steps may involve more than one adjustment or sometimes require me to try out different editing techniques to find the one that can provide the right result. As mentioned before, as long as you know what you want to achieve, it doesn't matter what adjustment you make.
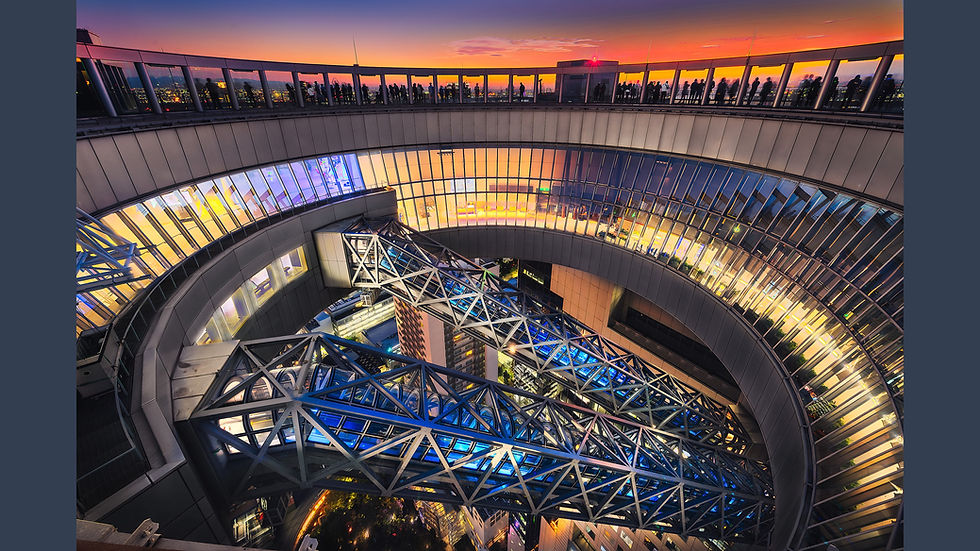
Here's the edited result. Have I addressed all the "problems" that I mentioned earlier? :)
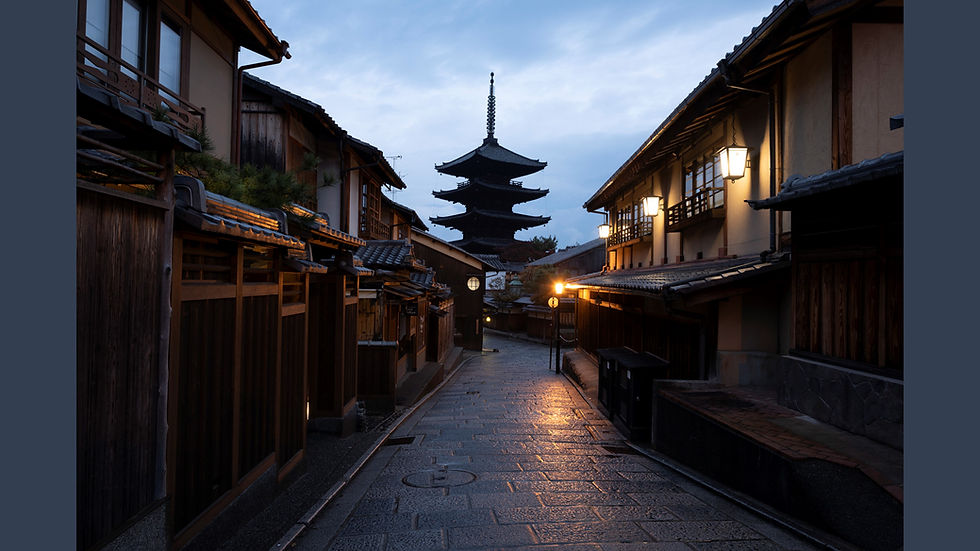
Let's repeat the same steps for another photo to help you in understanding the idea better. Here's the RAW photo of Yasaka Pagoda in Kyoto, Japan.
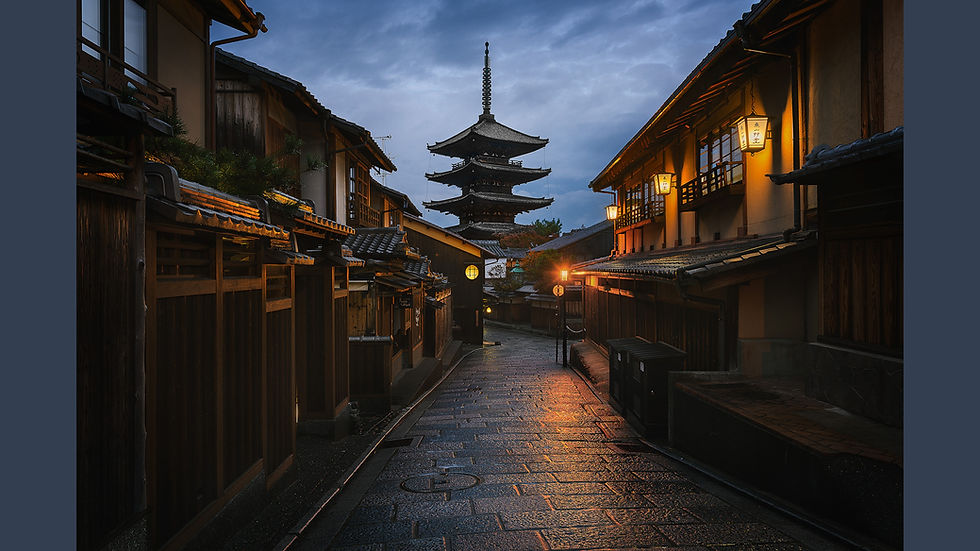
The below photo shows that what I plan to do via post-processing.

By playing around with different tones and colour adjustments, I enhanced the photo and made my subject stand out from the rest of the frame.
Hopefully, what I shared here can help you improve your editing skill and produce a better result.
That's all for now.
Happy shooting!
Grey Chow

Join our Photography Masterclass Community & improve your photography skill.
Subscribe to receive photography tips & tricks and update from Grey Chow


I really enjoyed reading this blog because it highlights something many beginners often overlook before jumping into proper editing preparation. The way you explained organizing files, planning the workflow, and understanding the final look before editing was very practical and easy to follow. It honestly saves so much time and reduces confusion later. I’ve also noticed that students managing creative projects alongside their studies often seek affordable MYOB assignment help to balance their workload more efficiently. Overall, this was a genuinely useful and relatable post for anyone trying to improve their editing process.
Sur le marché du vapotage, les modèles haute capacité comme puff 30k traduisent l’évolution d’une tendance vers plus de confort et de fiabilité. L’utilisateur n’a plus besoin de se soucier de la recharge quotidienne ou de la complexité du matériel. Tout est pensé pour offrir une expérience simple, intuitive et durable. Ce type de produit s’inscrit dans une logique d’innovation où l’autonomie devient un critère essentiel, au même titre que la qualité des saveurs et la sécurité d’utilisation.