.png)
5 Tips for better Black & White editing
- grey1217

- Aug 30, 2022
- 3 min read
A minimalism black and white photo can be interesting, but the way editing it is quite different from usual photos of Landscape or Astro. Here’re some of the adjustments I usually make when processing a black and white photo, and I hope these tips will help you in improving your photos.
Without wasting any more time, let’s start with the first tip. 😀

Tip #1 – Edit the sky separately
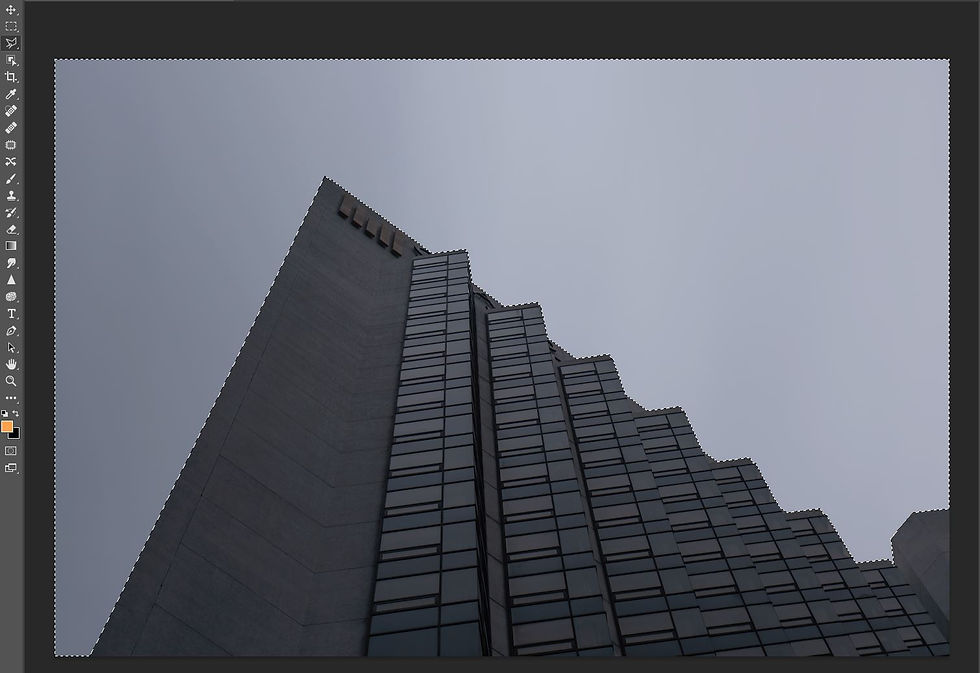
Have you ever wondered why the sky in those Black and White photos is always darker than the subject? This is because the sky was heavily darkened down during the post-processing. This helps to isolate the subject and make it stand out from the background, the sky.

Here’s a before and after comparison. You can see that sky has already darkened after the editing.
To do that, you first need to separate the sky from the photo. The most straightforward method to do that is to use a Polygonal Lasso tool. There are other better ways, but those are more complicated, so let’s start with the Polygonal Lasso tool first.
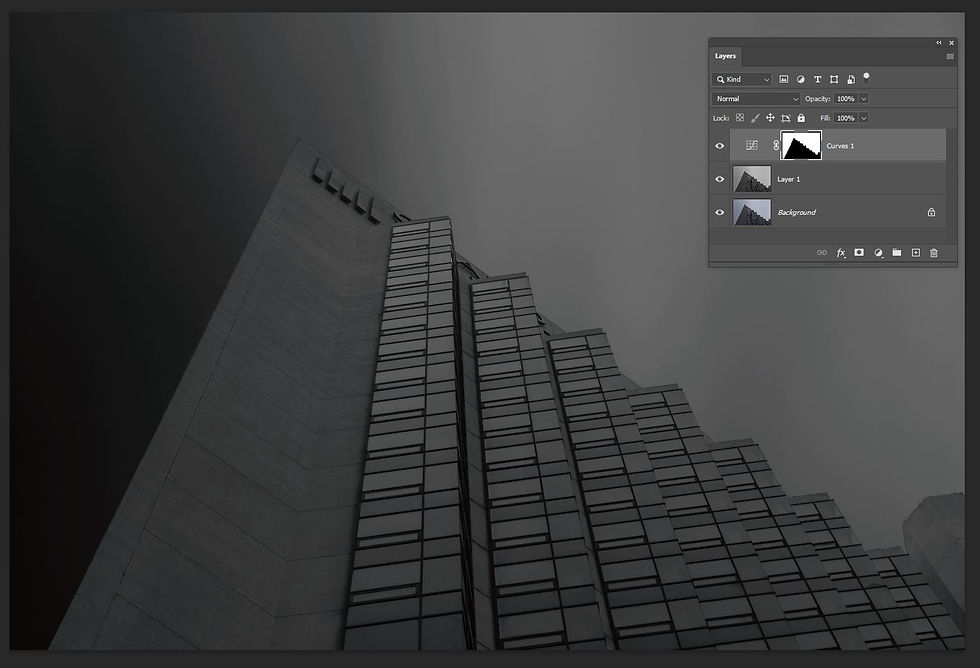
Now, you can use a Curve Adjustment Layer to darken the sky. With a layer mask that restricts the adjustment only to the sky.
Tip #2 – Incremental adjustment
Although you can use one Curve Adjustment Layer to darken the sky, I suggest you use a few adjustment layers, each having a more subtle adjustment.
Then at each adjustment, you can decide how much adjustment you want to make to the photo and makes necessary finetuning based on the adjusted result.

The above photo shows a list of Curve Adjustment Layers. They are all used to darken the sky, each adjusted incrementally for a more natural result.
This method allows you to control your adjustment better and produce a more natural result. It is often easy to make your photo overcooked by applying a strong effect using a single adjustment.
Tip #3 – Adding depth
When we talk about adding depth to a Black and White photo, I’m referring to the “Contrast” of the photo. Contrast is the different visual ratios of different tones in a photo. But instead of using boost up the contrast of the whole photo. You can separate your photo into different parts and then add a different level of contrast to those parts separately.

Referring to the above photo, I created different adjustment groups based on different parts of the building. So that I can adjust and apply different contrast to them separately. Below is what the photo looked like after the adjustment.
Tip #4 – Adding light to the peak of your subject
For photos with a pointing-up angle like this, I would add lights to the top of the subject to make it brighter than the rest of the photo. This is to recreate a scene of lighting coming down from the top and also helps draw the viewer’s attention to the center of the frame.

Also, this will add a sense of depth to your photo, with a transition from dark to bright.

You can either use the gradient tool, dodge and burn tool, or both to do the task.
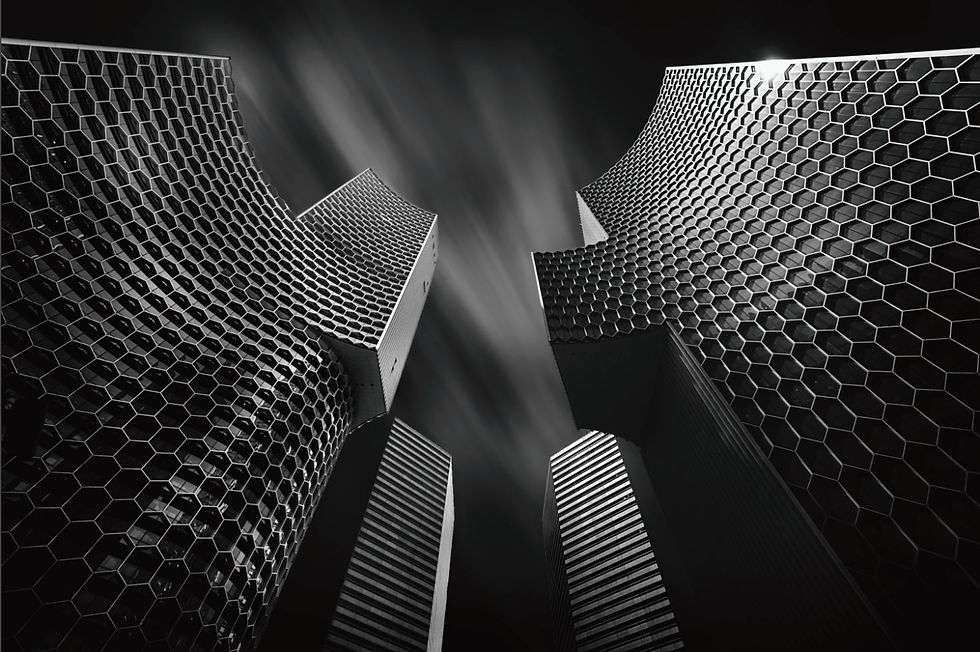
Tip #5 – Vignette is king
Last tip! Unlike photos of Landscape or Astro, a black and white photo has a better tolerance for a heavy vignette. Especially for a photo with a minimalist composition. It makes your subject or a part of your subject stand out from the frame by surrounding it with the dark.

Notice how the heavy vignette helps to isolate and focus more on the subject. Here're some examples of the adjustment layers that I applied.

That’s all for this blog post. Feel free to let me know if you have any questions about Black and White photography. 🙂
If you are interested to learn from me, you can check out my latest Long Exposure Black and White Photography Workshop HERE.

Please feel free to share this post if you enjoy reading it! :)
#longexposure #nd #BW #photography #exposure #postprocessing #blackandwhite #tips #editing #photoshop


These are excellent, practical tips for making black and white photos look truly professional! Learning how to adjust contrast and create depth step-by-step takes a lot of time and patience. Just like mastering photography, university students also have to work very hard on their final projects. When academic tasks get too difficult, many people look for a PhD thesis writing service UK to get expert help. Your simple advice about editing the sky separately is a game-changer that I cannot wait to try out!
Situé au cœur de Guéliz, le quartier le plus vivant de Marrakech, Lilly Billy restaurant Guéliz est de ces lieux qui captent immédiatement l’attention par leur atmosphère chaleureuse et leur élégance décontractée. Entre les façades modernes, les terrasses fleuries et le va-et-vient des passants, ce restaurant s’impose comme une halte idéale pour profiter d’un moment gourmand loin du tumulte. Ce qui frappe dès l’arrivée, c’est la sensation de bien-être : une lumière douce, un décor soigné et un accueil qui met à l’aise sans en faire trop. On comprend vite que l’endroit a été pensé pour plaire autant aux habitants de Marrakech qu’aux voyageurs curieux de découvrir la scène culinaire locale.