.png)
How to add realistic sun rays using Luminar AI
- grey1217

- Oct 1, 2021
- 3 min read
Adding sun rays to your photo can be tricky using Photoshop, but using Luminar AI, you can do it easily with only a few adjustment sliders.
Before I start, I want to highlight that although it is easy to add sun rays to your photo, it doesn't mean that it helps to make the photo better.
There are two things you may want to consider first.
1 - Is it make sense to add the sun/sunrays? For example, adding sun rays to a photo that is taken during an overcast sky or blue hour doesn't match well.
2 - Is adding sun rays makes your composition cluttered. It should enhance your photo instead of taking the attention away from your main subject.
Adding sun/sunrays using Luminar AI
Usually, we only add the sun/sunrays to our photo during the final touch-up phase, after you have done exposure recovery, colour & tone adjustment or any other necessary editing.
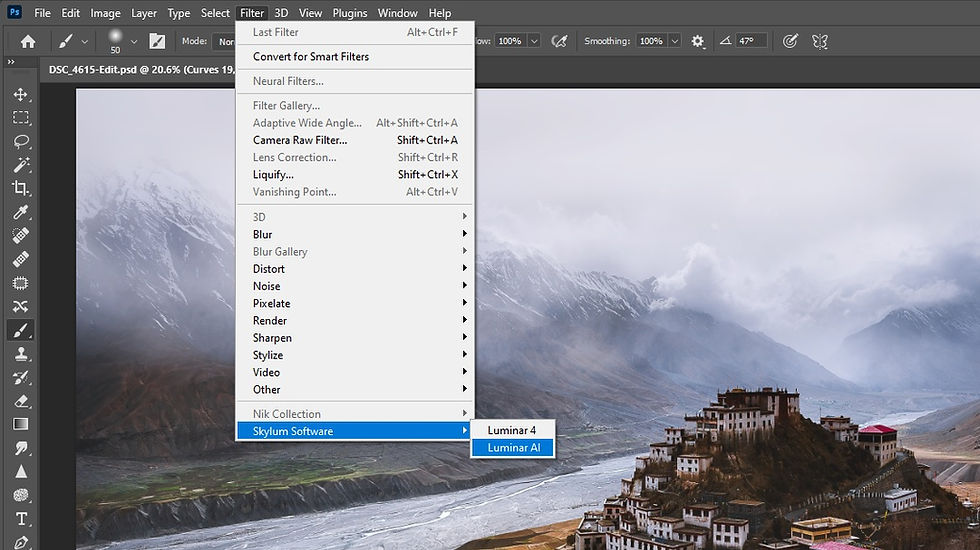
You can either edit your photo on Luminar AI or do the editing on Photoshop first and then open Luminar AI as a plugin to add sun rays.
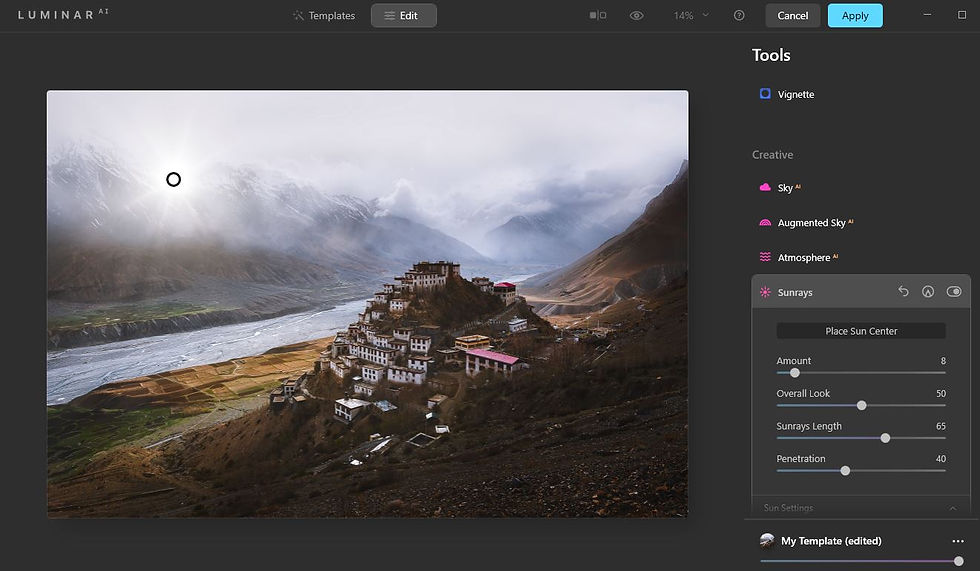
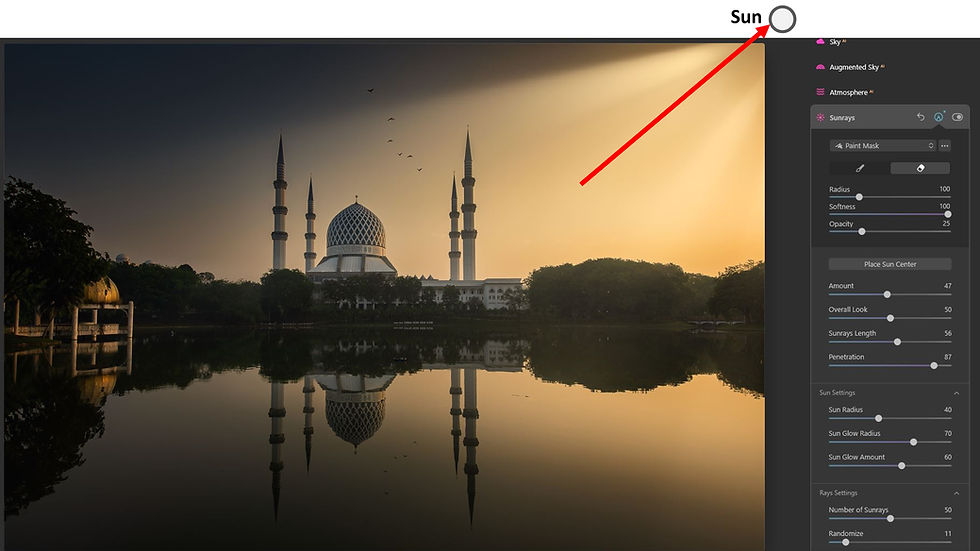
From there, you go to the Sunrays option under the Creative section on Luminar AI.
Click on the Place Sun Center button and move the white point to where you want the Sun to be.
Then you can play around with the below four settings to set how strong the effect of the Sun and sunrays will be.
Amount - adjust the overall intensity of the Sun's rays.
Overall Look - adjust the overall brightness of the scene to match the Sun and its rays.
Sunrays Length - adjust the distance the sun rays travel, or you can say the radius of the effect.
Penetration - adjust how much the Sun passes through an area.
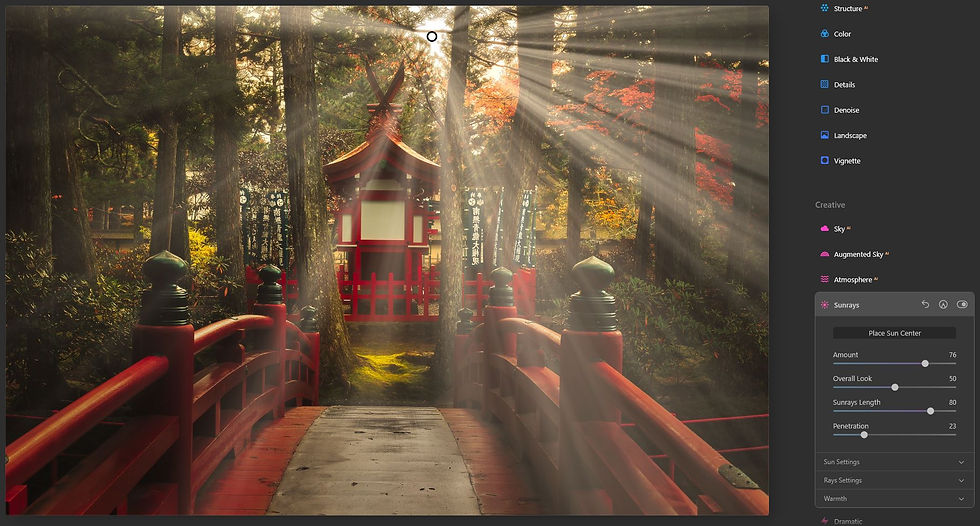
Try out different combinations between Amount, Sunrays Length and Penetration to get the result that you want.
For example, using higher Amount and Sunrays Length values produces clearer and longer sun rays.

Reduce the Sunrays Length value, but increasing the Amount and Penetration values generates brighter sun rays with a smaller radius.
Once you have decided how strong and how long the sunrays are, you then adjust the settings for the Sun, rays, and colours.
Under the Sun Settings, you can use the Sun Radius slider to adjust the size of the Sun, then the radius and the strength of the Sun Glow.
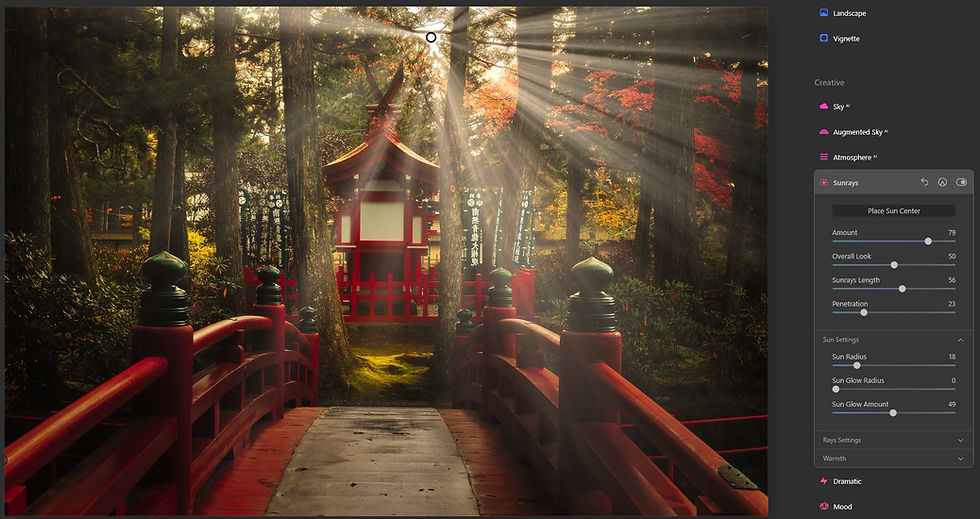
This is how the result looked like with 0 Sun Glow Radius.
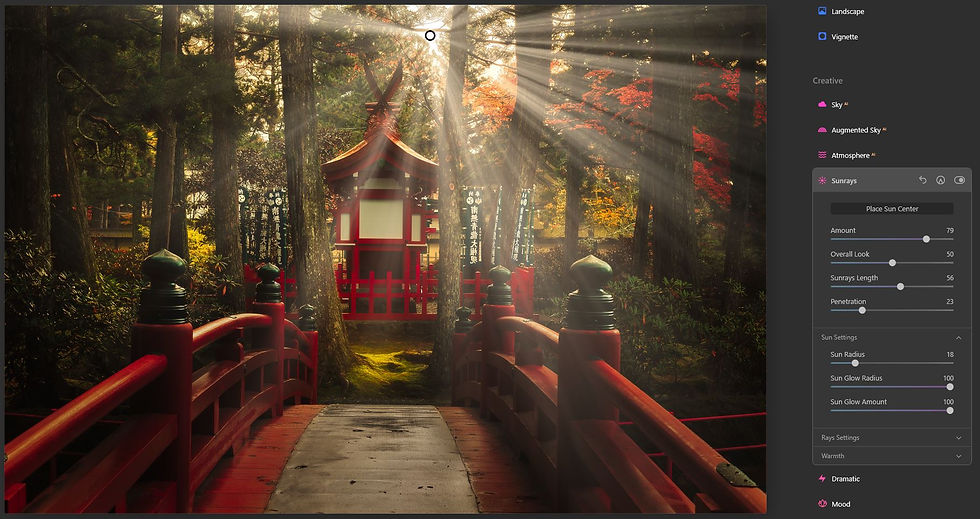
By increasing both the Radius and Amount value, notice that the centre area of the Sun is brighter and wider now.
Next, under the Rays Settings, you can adjust the Number of the Sunrays and use the Randomize slider to generate different patterns of sun rays, which then you can pick the one you like from there.

Under the Warmth settings, you can warm up both the colour of the Sun and its rays to match the overall colour tone of the scene.

After all the adjustments, you may feel that the result looked a bit artificial now.
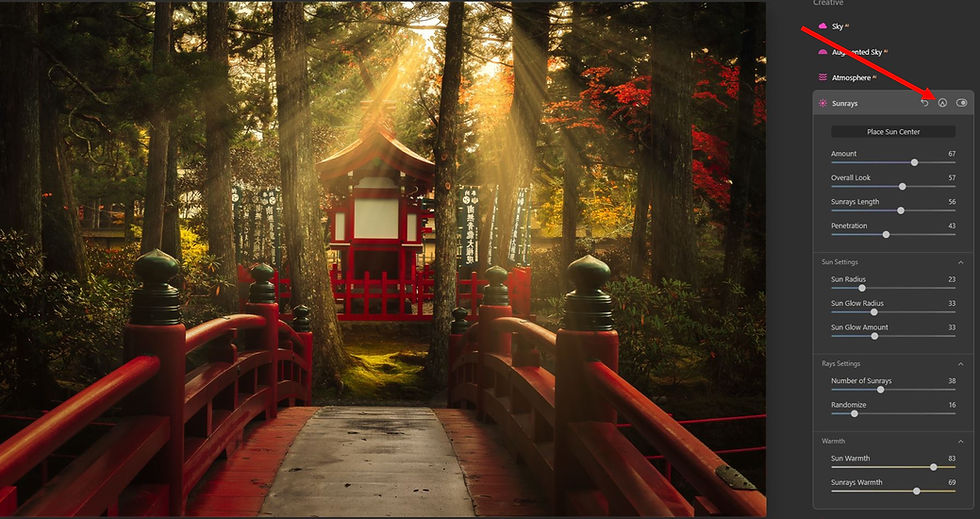
To fix that, you can click on the Add Mask icon and then select the eraser.
Reduce the Opacity to 25, and paint on the photo to reduce the strength of the effect or remove them completely from an area.
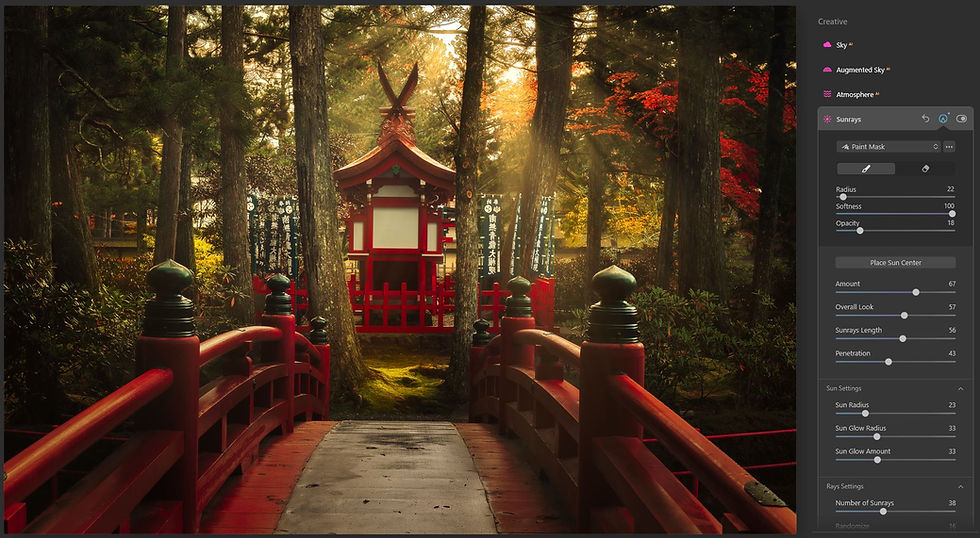
The photo looked more realistic now.
Some Editing Tips
Sometimes, you include the Sun in your photo, but you can't get the starburst effect for the Sun due to the weather. Or, maybe the patterns of the spike doesn't look good enough.

You can use Luminar AI to put a fake Sun and rays on top of the original Sun.
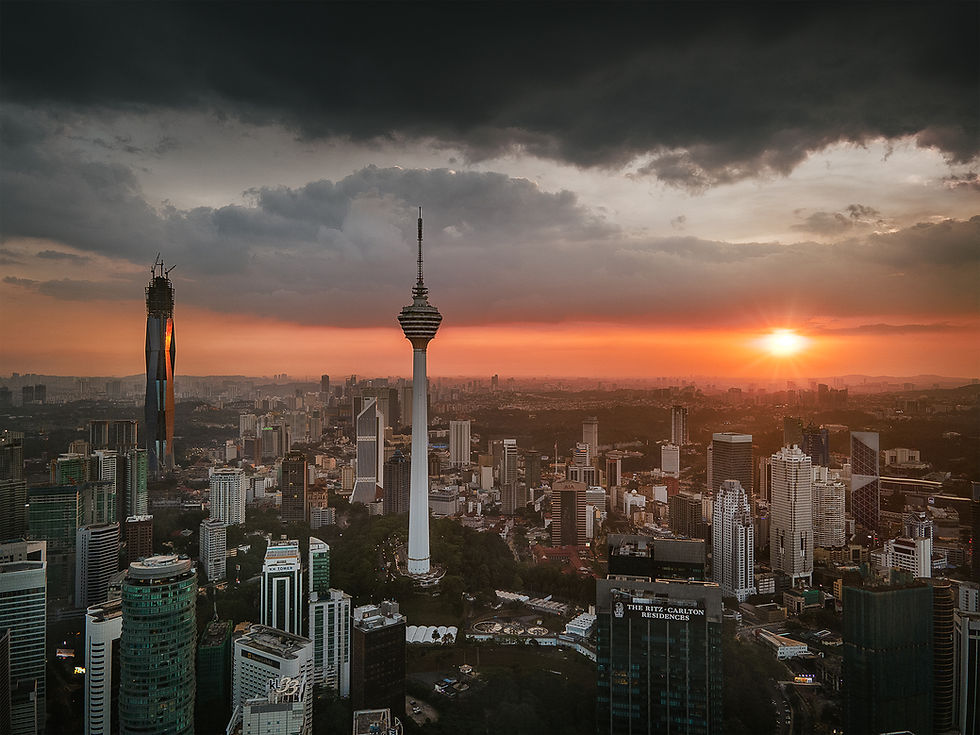
Also, you can place the Sun outside the photo, keeping only the Sunrays.
That's all for this article. Please feel free to share this post if you enjoy reading it! :) Happy shooting!
Grey Chow

Join our Photography Masterclass Community & improve your photography skill.
Subscribe to receive photography tips & tricks and update from Grey Chow


Comments