5-tips For Better Seascape
- grey1217

- Nov 24, 2021
- 3 min read
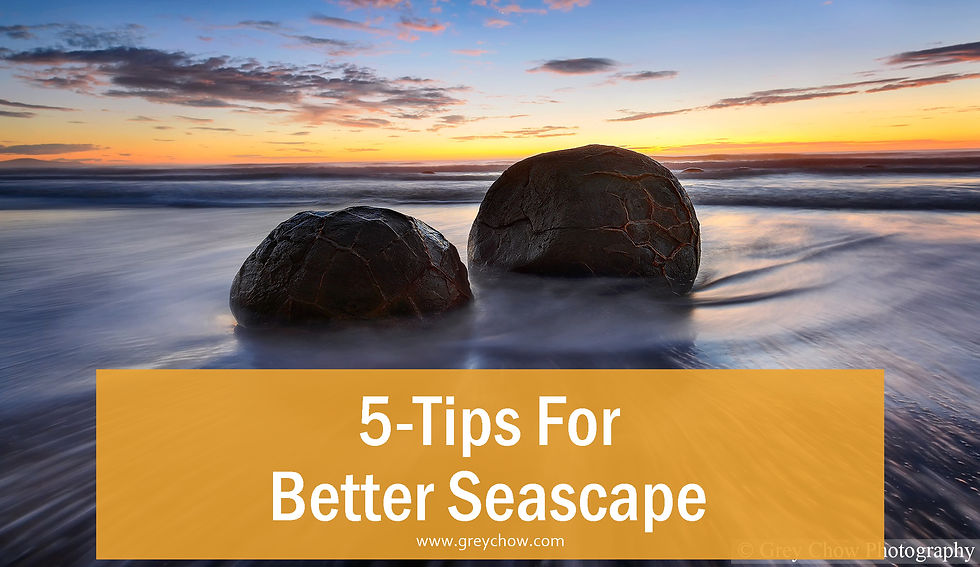
Getting a good photo of seascape can be more challenging than other types of landscape photography such as cityscape or mountain.
It is because of the non-static waves, and there's always a risk that you may lose your expensive gears if you aren't careful enough. It is not unusual to hear stories about photographers accidentally dropping their cameras into the sea, and that included me. (Thanks to that, I got a good reason to upgrade from a crop sensor to a full-frame camera. lol)
In this article, I want to share some tips on how to capture better photos of the seascape.
1. Check out the tide chart.
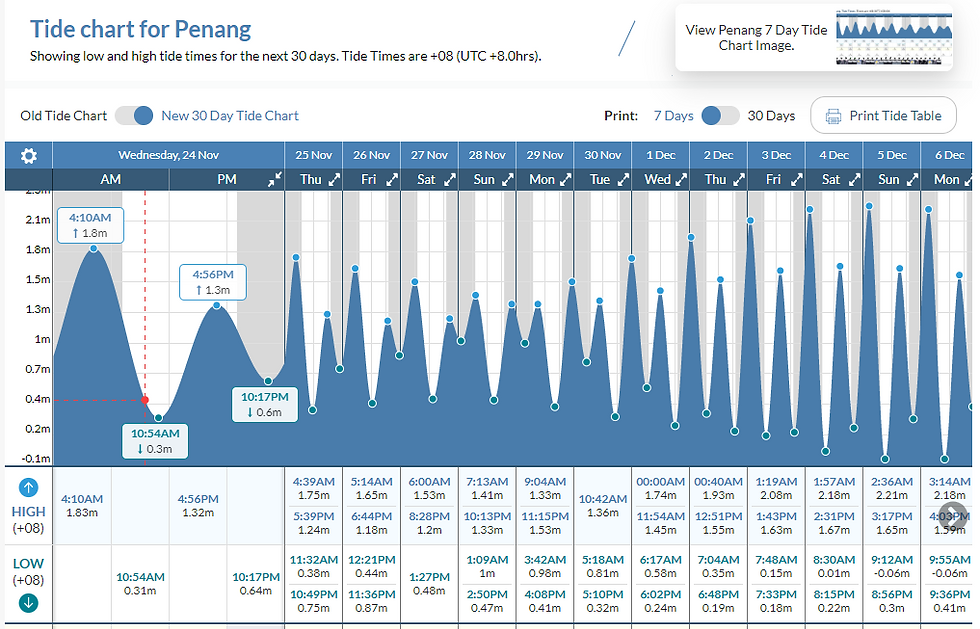
(Above screenshot is from tide-forecast.com)
We all know that checking out the weather forecast helps us plan our shooting better and ensure there's a higher chance of capturing good weather.
For seascape, you should also check out the tide chart. A tide chart shows the prediction of the water level of a place on an hourly basis, which allows you to know when is the high tide and when is the low tide for your shooting location.
It is important to know the tide time because some places are only accessible during the low tide.
On top of that, some places are better during the high tide, and some are the other way around.
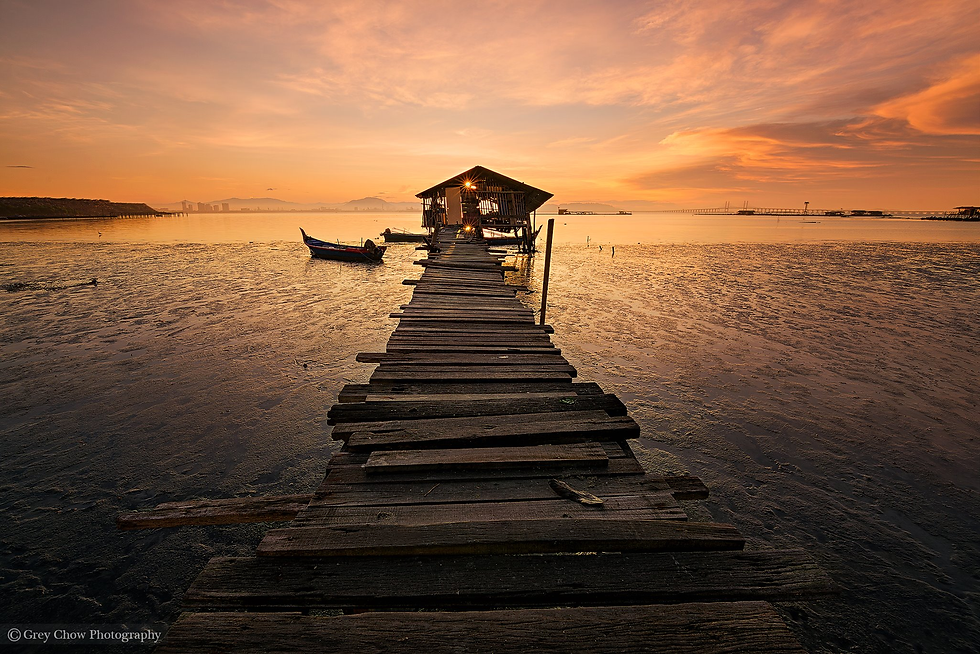
Look at the below two photos of Dove Jetty in Penang, Malaysia. I took the first photo during the low tide, which revealed the muddy beach under the jetty. The photo looked kinda "messy" to me.
For the 2nd photo, during the high tide, the water flooded the area. I used a slow shutter speed to smooth out the water surface to add a sense of calmness.
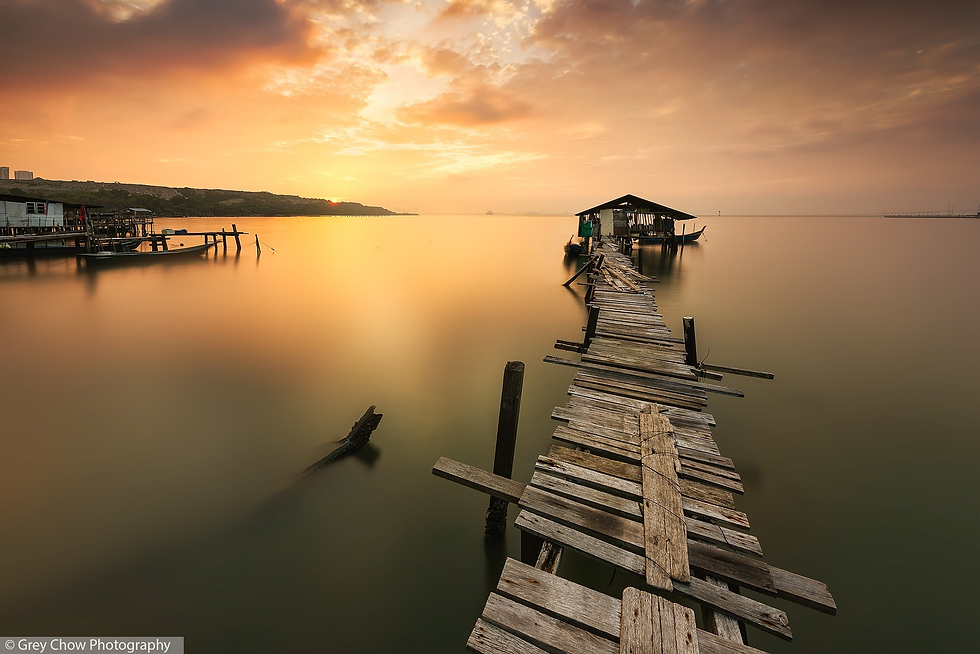
The 2nd photo has a cleaner and better composition. Also, it focuses more on my main subject, the jetty.
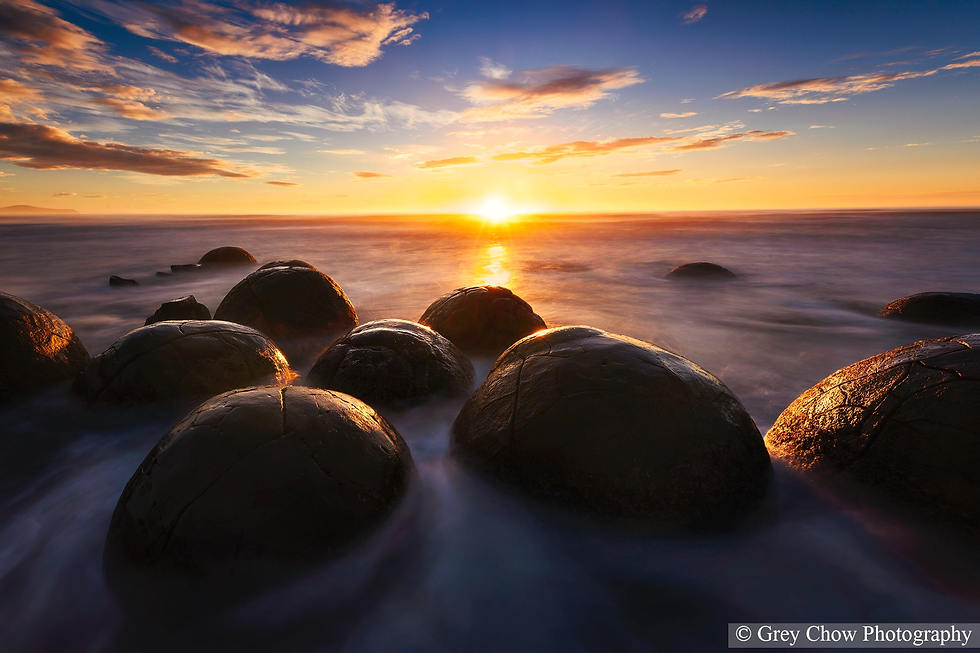
For another place like Moeraki boulders beach in New Zealand, being there during the low tide would be better as you can go near the boulders and use them as your foreground subjects.
2. Experiment with different shutter speed
I have talked about using a slow shutter speed to smooth out the blur out the water to create a flat smooth surface.
But, how slow should the shutter speed be?
You can go as slow as you want, such as 30 seconds or even a minute, to produce the effect that I mentioned earlier.
However, if you plan to add a sense of motion to your photo, you may want to use a shutter speed that's slow enough not to freeze the wave but not too slow to smooth out the waves entirely.
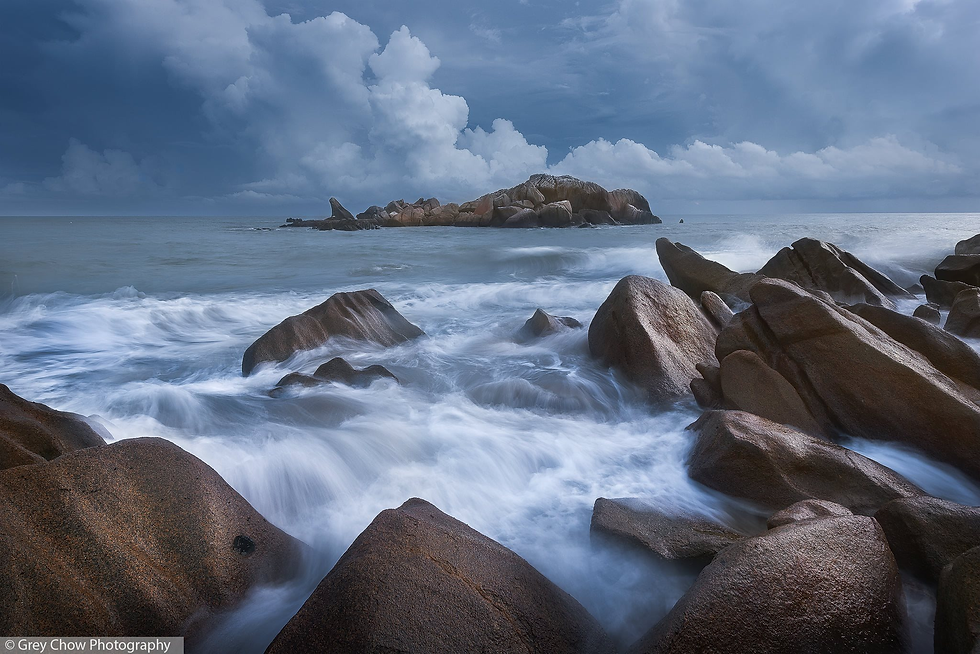
This is actually the most tricky part, as there's no fixed rule at what shutter speed will produce what kind of result. It depends on the speed of the waves and the shooting location.
The best is to try out different shutter speeds to find out which one works the best. For your reference, I often use a shutter speed of around 2 to 4 seconds to capture the waves.
3. Go low
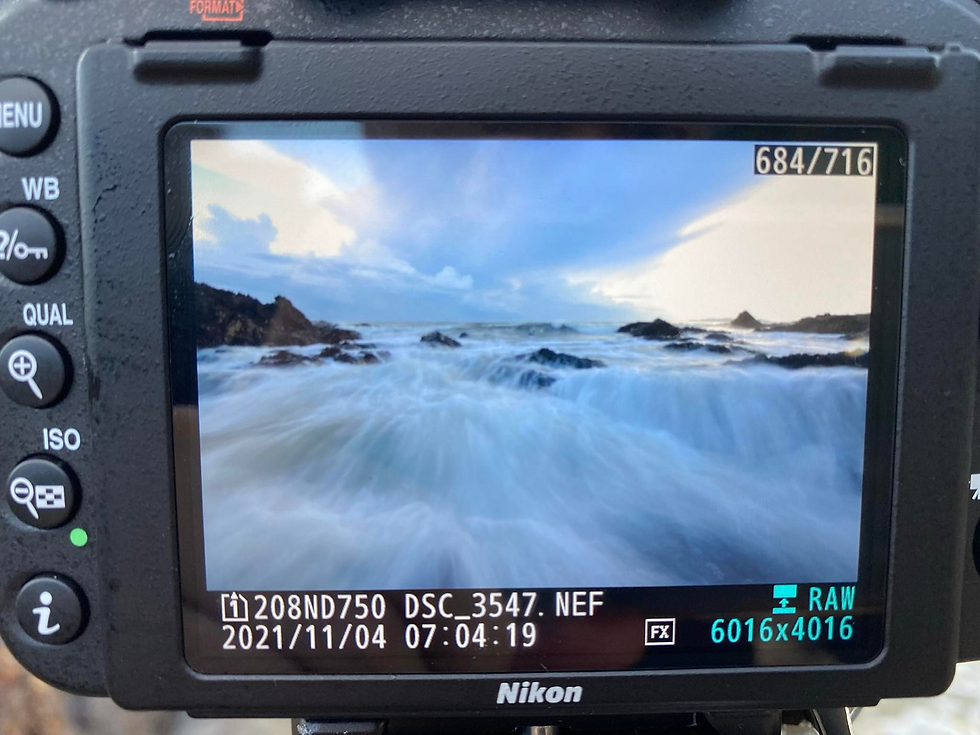
Another trick to capture stunning waves is to go low.
Shooting at a lower angle with a wide-angle lens, the optical distortion of the lens tend to stretch out anything close to your camera and make them appear to be bigger than it is on the photo. That helps to create a more punchy photo.
However, please be extremely careful if you plan to go low. There's a chance that the wave may splash on your camera or knock your tripod down to the sea. So always stay alert to the surroundings, and be ready to lift your tripod high up from the ground when you see a huge wave coming.
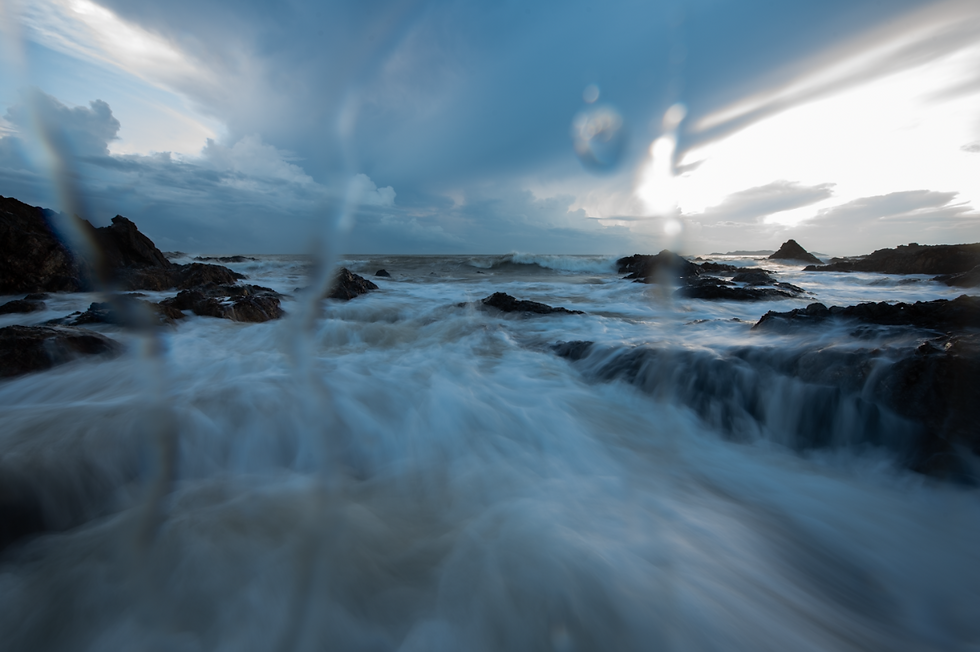
Notice the splash that showed on my photo. :D
4. Bring an air blower
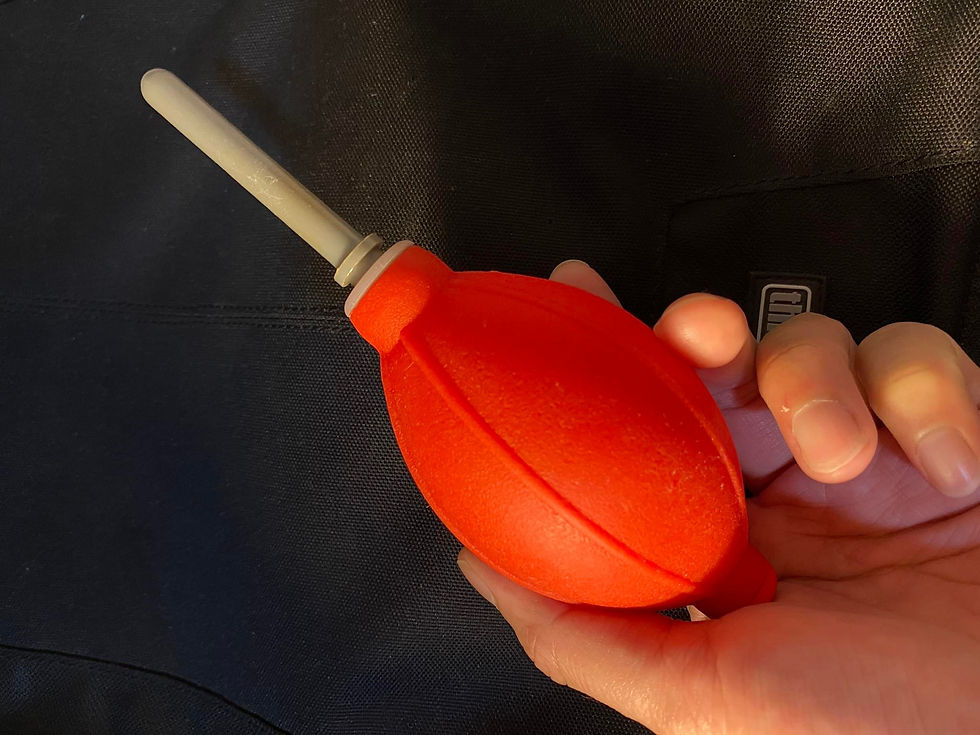
If there are water droplets on your lens, instead of wiping it off with a microfiber cloth or your cloth (that would be the worst case), use a blower to blow the water off the lens.
These droplets may contain fine sands in them. If you rub them against your lens, there's a chance you may accidentally scratch your lens.
It is always safer to use a blower and then do a proper clean up later after the shooting.
5. Use an ND filter
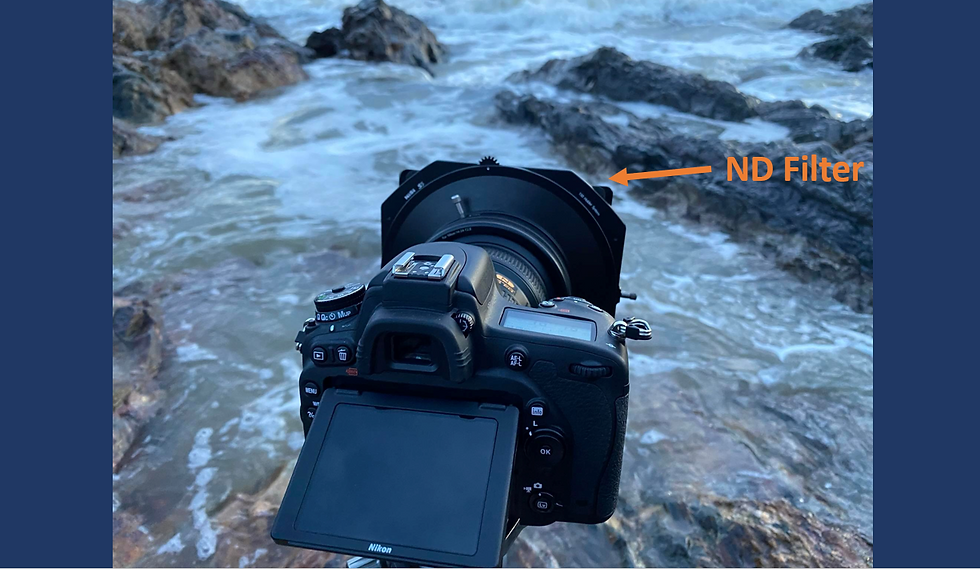
If you want to use a slow shutter speed and the sun is above the horizon, you most likely will overexpose your photo due to the strong sunlight.
To solve that, you need to attach a Neutral Density (ND) filter to your lens to cut down the intensity of lights entering your camera. (Like wearing a pair of sunglasses for your camera)
With that, you will be able to use slow shutter speeds at 1 or 2 seconds for the waves.
That's all for this article. Hopefully, it gives a better idea of how to photograph seascape.
Feel free to share it out with your friends. :)
Happy shooting.
Grey Chow

.png)



Comments